
Last updated November 22, 2026
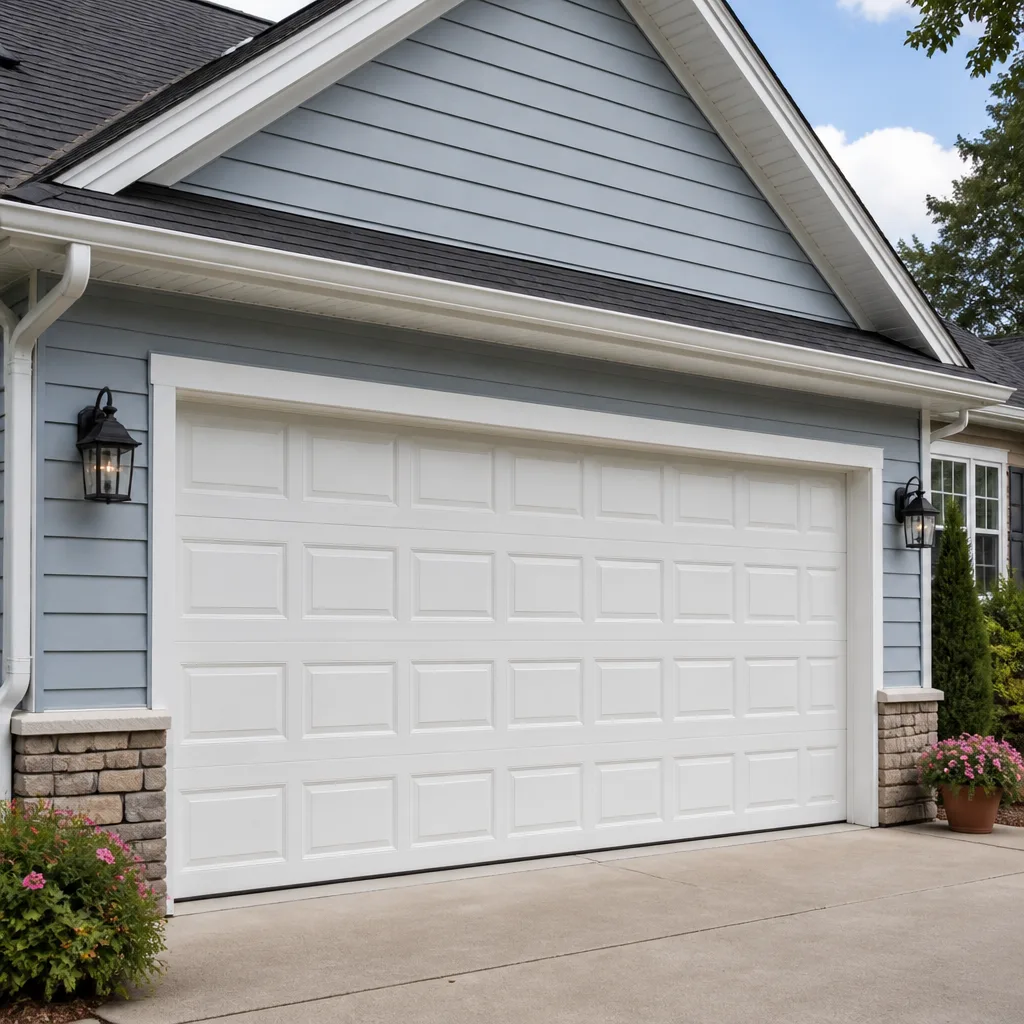 Raised-panel steel
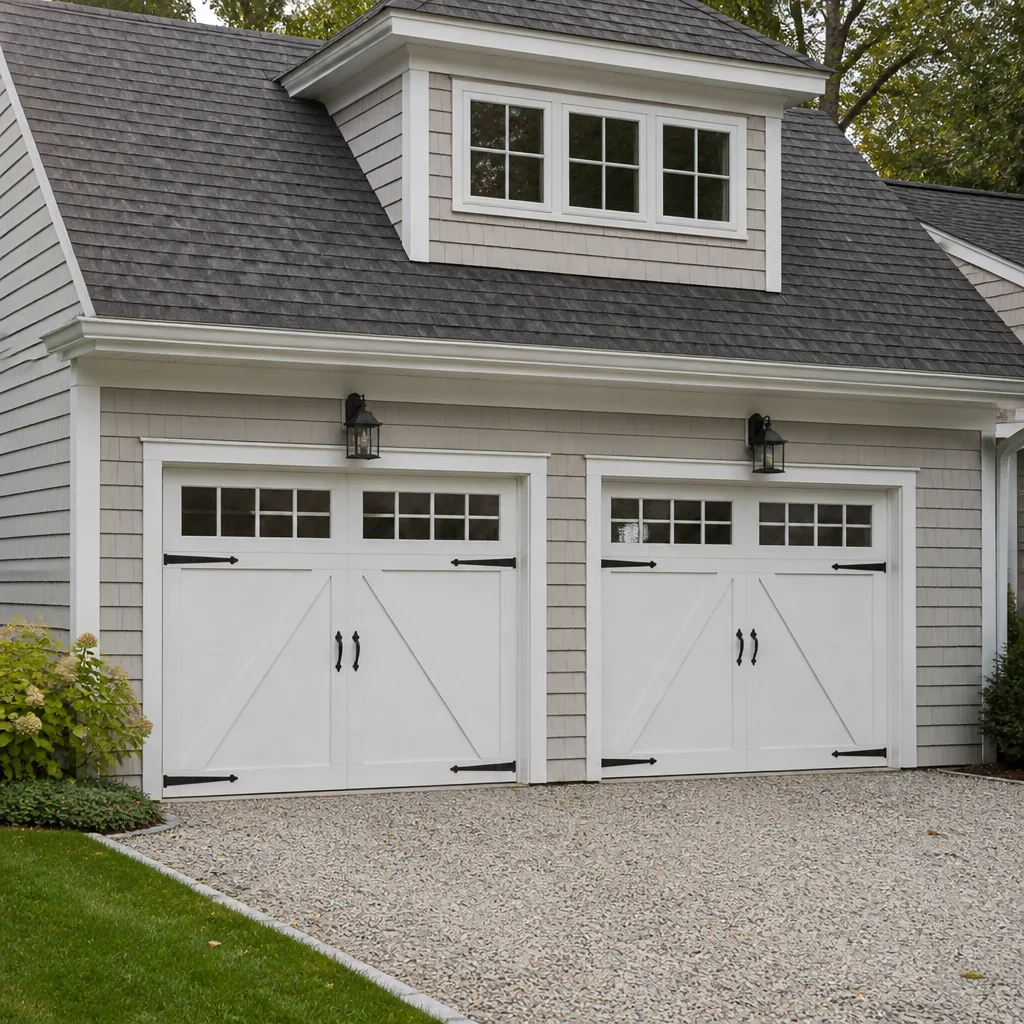 Carriage house
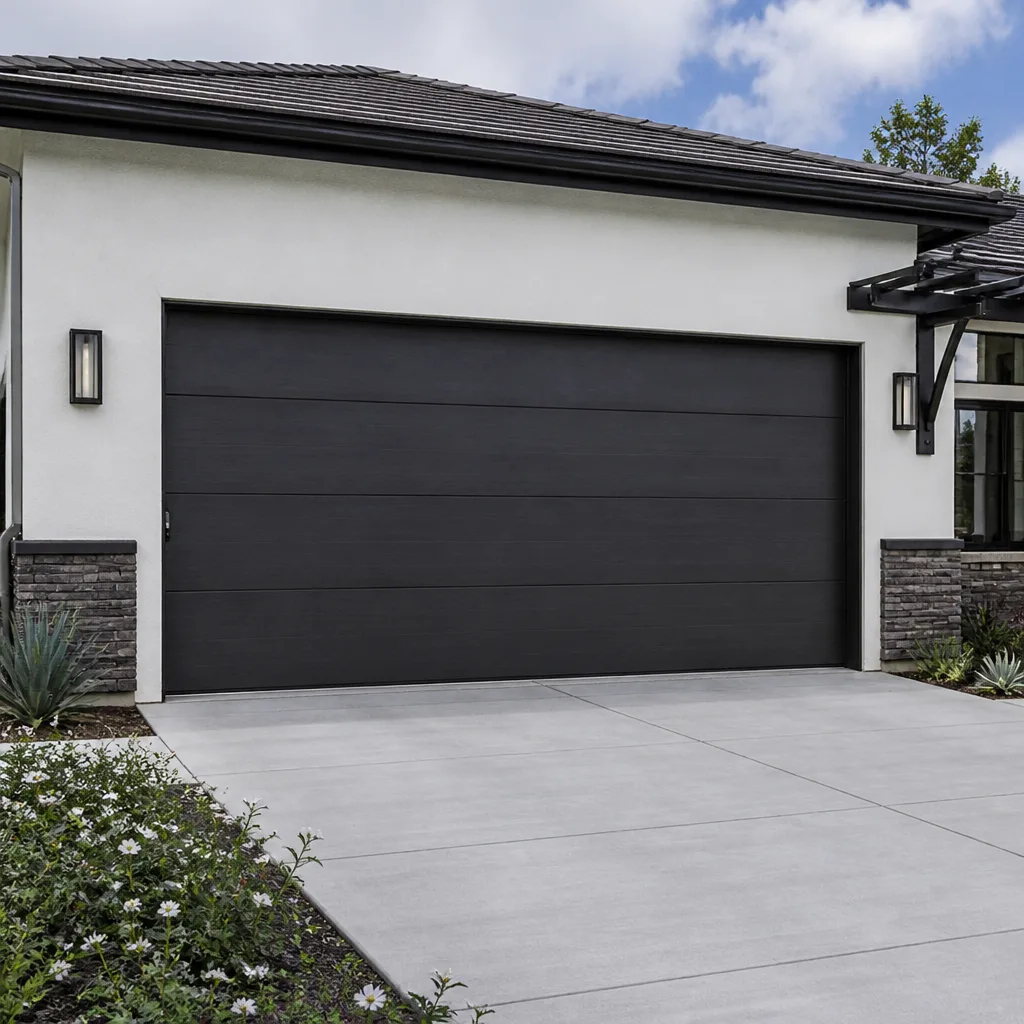 Modern flush
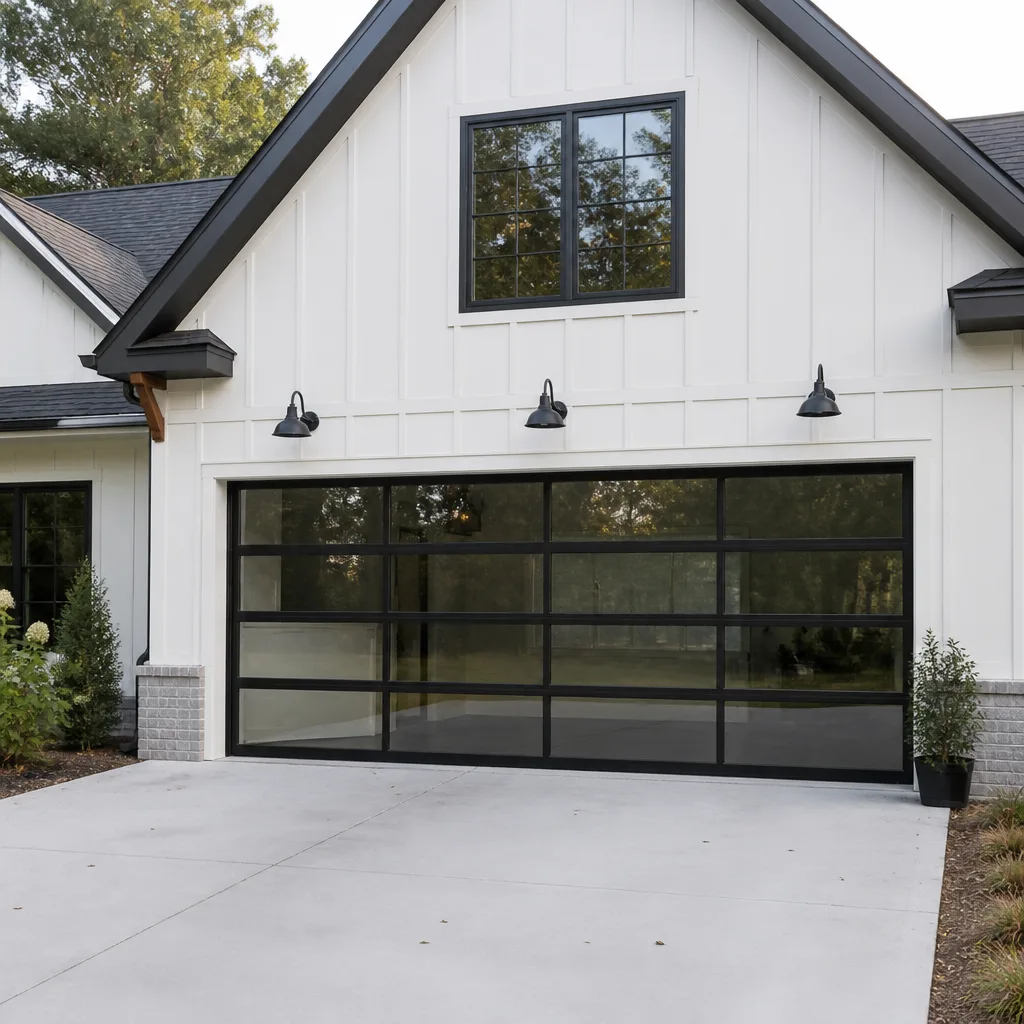 Full-view glass
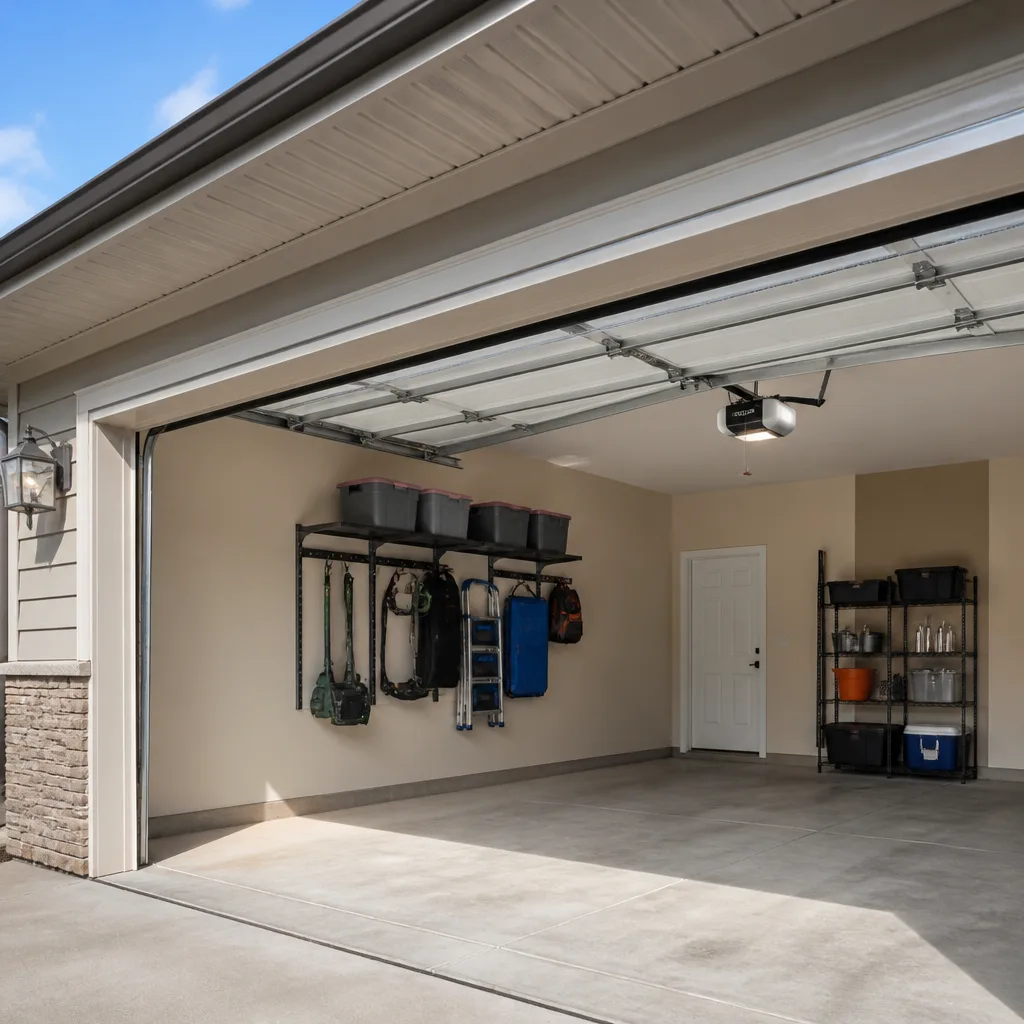 LiftMaster openers
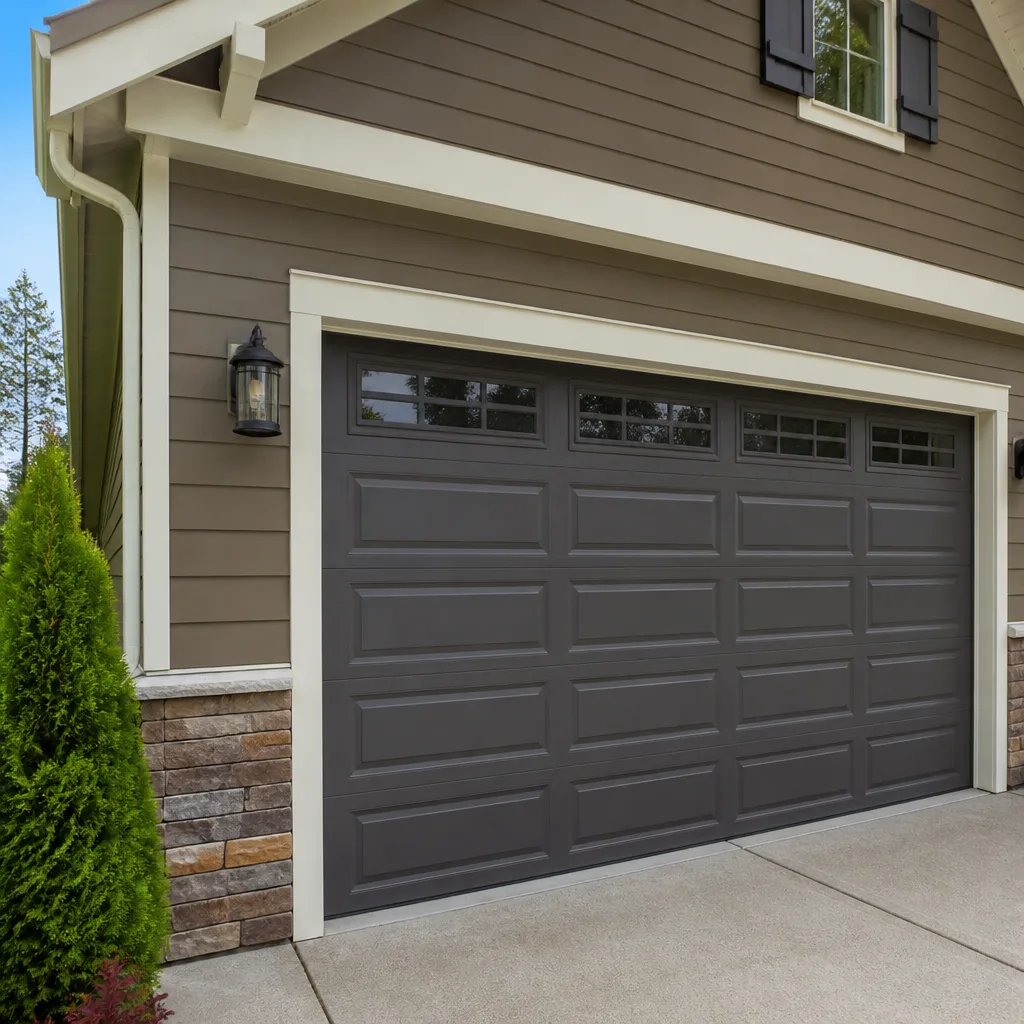 Chamberlain openers
Full 25-point door and opener safety check with every visit - springs, cables, rollers, tracks, and your LiftMaster or Chamberlain opener included
You get a price before we start. It does not change when the pro arrives.
Get your free estimateGarage Door Repair Maintenance Checklist for Mission Bend Homeowners
Silicone spray is the lubricant on nearly every generic garage door checklist you’ll find online. In Mission Bend, that advice can quietly work against you. Silicone is thin, and in the humidity that settles over Southeast Texas for months at a stretch, it washes off torsion springs faster than most homeowners realize. The metal underneath starts to pit, then rust, and a spring that should have lasted years starts to fail early. Doors here don’t wear out the way they do in dry climates, and a checklist written for Arizona won’t protect a door in Mission Bend. What follows is a maintenance routine built for this specific place: humidity-driven corrosion, wood that swells and warps in summer heat, hardware that shifts when the ground dries out, and the lubricants that actually hold up when the thermometer sits near 95°F.
Quick Answer
Maintain a garage door in Mission Bend by inspecting and lubricating springs, rollers, hinges, and tracks every three to four months, and again after any stretch of sustained high humidity. Use a lithium or white grease on springs and cables rather than thin silicone, check the bottom weatherstrip for sealing after dry spells, and watch for rust that has moved past a light surface film. When a spring is visibly corroded, cracked, or the door feels heavy, stop operating it and call a professional.
Styles & brands we work with
- Raised-panel steel
- Carriage house
- Modern flush
- Full-view glass
- LiftMaster openers
- Chamberlain openers
Table of Contents
- Why a Standard Checklist Falls Short in Mission Bend
- Matching the Right Lubricant to Each Component
- A Humidity-Triggered Inspection Schedule
- The Visual Rust Checklist: Acceptable vs. Failure
- Testing and Re-Sealing the Bottom Weatherstrip
- The Plumb-and-Level Door Frame Check
- Opener and Safety-Reverse Testing
- Safety: What You Should Never Adjust Yourself
Why a Standard Checklist Falls Short in Mission Bend
Most garage door maintenance advice is written for a generic climate, and it shows. Mission Bend sits in a part of Texas where relative humidity climbs past 80% for weeks and the summer heat pushes toward 95°F and beyond. That combination does two things to a garage door at once: it accelerates corrosion on every bare metal surface, and it stresses the wood and weatherstripping that seal the opening. A checklist copied from a dry-climate guide will tell you to do things in the wrong order, with the wrong products, at the wrong intervals.
Three forces are at work on a Mission Bend door:
- Humidity and condensation. Metal hardware that stays cool overnight collects condensation as the day warms. Springs, cables, hinges, and brackets sit in that moisture for months, and unprotected steel starts to oxidize.
- Summer heat and wood movement. Wood panels and frames expand in the heat and dry out in the sun, and they can warp or cup over a season. A panel that warps pulls on its hinges and throws the door slightly out of balance.
- Ground movement through dry spells. When the soil dries and shrinks in a hot stretch, the slab and the door frame can shift a fraction. That’s often when a bottom seal that used to sit flush starts to leak air, water, and pests.
The result is that a Mission Bend garage door is usually fighting moisture and movement, not the cold and ice that northern guides obsess over. Our technicians have up to 10 years of experience working on doors in this kind of environment, and the pattern is consistent: the doors that last are the ones lubricated correctly and inspected on a humidity-driven schedule, not a calendar alone. If you’d rather have a trained eye walk through the whole door with you, our Mission Bend Garage Door Repair Pros team can help.
Matching the Right Lubricant to Each Component
Not every metal part on a garage door wants the same product, and using one spray everywhere is a common shortcut that shortens component life. In a humid climate, the choice matters more, because a lubricant that washes off or dries out leaves bare metal exposed to moisture. Here’s how we match lubricant to component in Mission Bend homes.
Springs and cables: lithium grease or white grease
Torsion springs and the cables that run beside them carry the most tension and sit in the most exposed position. A heavier grease, either a lithium-based or a white lithium grease, clings to the coil and stays put through humid stretches where a thin silicone spray would run off or evaporate. Grease also leaves a protective film that slows surface rust. Apply a light coat along the length of the spring and work it into the coils with a rag.
Rollers, hinges, and bearings: lithium grease or a heavier oil
Steel rollers and their bearings benefit from a grease that stays in the race. Nylon rollers generally need little or nothing, but the hinges that connect panels should get a drop of grease or heavier oil at each pivot so they move freely without squealing. Avoid spraying thin lubricant into the roller track itself, which can attract dust and gum up the works.
Tracks: dry lubricant only, and sparingly
Tracks don’t need heavy grease. A light application of a dry or silicone-based lubricant, wiped to a thin film, keeps them moving without collecting the grit that a sticky grease would trap. This is the one place where a silicone product belongs. Keep the track clean first, then apply a thin film.
What to avoid in high humidity
- Thin silicone spray on springs and cables. It’s the standard online advice, and in Mission Bend humidity it washes or wears off quickly, leaving coils exposed.
- WD-40 as a long-term lubricant. It’s useful for loosening stuck parts, but it isn’t a lasting lubricant and won’t protect metal through a wet season.
- Heavy grease on the tracks. It traps grit and dust, which wears the rollers faster.
The single most important lubricant decision in this climate is on the springs. Grease them properly, and you slow the corrosion that ultimately causes a spring to fail. Skip it, and the metal degrades from the outside in.
A Humidity-Triggered Inspection Schedule
A calendar-only schedule misses the point in Mission Bend, because the door’s real enemy is moisture and you get more of it in some weeks than others. A better approach is a hybrid: use the calendar as a baseline, then trigger extra inspections whenever the air has been heavy for a while. Here’s the routine we recommend to homeowners across Mission Bend.
- Baseline: a full inspection every three to four months. Lubricate springs, hinges, and bearings, check the rollers, test the opener’s safety reverse, and look for rust. This is your steady-state routine.
- Trigger: after two or more weeks of sustained high humidity. Once humidity has sat above roughly 80% for a couple of weeks, walk the door and look for fresh rust bloom on springs, cables, and brackets. Wipe down any moisture and re-grease the springs.
- Trigger: after a long dry, hot spell. When the ground has been baked and dry for weeks, check the bottom seal and the door’s alignment. Shifting soil is the usual culprit behind a new gap at the floor or a door that suddenly rubs.
- Trigger: any change in how the door sounds or feels. A new squeal, a door that feels heavier, or a door that jerks on the way up all mean it’s time to inspect, regardless of the calendar.
- Trigger: a hard thunderstorm or wind event. After a strong storm, check the tracks for debris and confirm the door still runs smooth and level.
If the door uses a LiftMaster or Chamberlain opener, fall and spring are also good times to re-test the safety reverse and adjust the force settings if needed, since those systems carry more electronics and benefit from a periodic check. The point is to let the weather tell you when to look, not just the calendar. That’s how you catch a spring’s rust before it becomes a snap. When you’d like a professional inspection, our garage door repair service covers the full mechanical check.
The Visual Rust Checklist: Acceptable vs. Failure
Rust is the first signal a humid-climate door sends, but not all rust means the same thing. Some surface oxidation is normal and can be managed. Other patterns mean the part is on its way out and the door shouldn’t be operated. Here’s how we tell the difference in Mission Bend.
Surface rust you can manage
- A light, even film of brown oxidation on the surface of a spring or bracket.
- Small rust freckles on hinges that wipe off with a rag and a little grease.
- Rust on the track that can be cleaned and then kept dry.
With these, clean the surface, apply grease, and monitor. Catching surface rust early is the whole game; it only becomes a problem when it’s ignored.
Rust that signals imminent failure
- Pitting on the spring coil. If the metal is eaten into, not just discolored, the coil carrying the door’s weight is weakened. Don’t wait.
- Rust at the spring’s end cones or anchor points. The ends bear the most stress, and corrosion there is a fracture waiting to happen.
- Cables with rust visible between the strands or fraying alongside the rust. A rusted cable is a cable that can snap.
- A crack or gap anywhere on a spring. This is the clearest sign to stop using the door and call.
Spring failure is the highest-risk event on a garage door. A rusted spring can give way without warning, and the released tension is dangerous to anyone standing near it. If you see pitting, fraying, or cracks, don’t test the door to see if it still works. Our garage door spring repair team handles replacements and can tell you whether one spring or a matched pair needs attention. A pair is usually replaced together since they wear evenly.
Testing and Re-Sealing the Bottom Weatherstrip
The bottom weatherstrip is your door’s first line of defense against humid air, water, and pests, and in Mission Bend it’s also the part most affected by ground movement. When the soil dries and shrinks in summer, a frame can settle a fraction and leave a gap you can’t see but the weatherstrip can. Testing and re-sealing it is a simple job any homeowner can do.
- Close the door fully and look for daylight. Get down at floor level and check for light coming under the door at either corner or along the middle. Any visible light means a gap.
- Slide a sheet of paper under the door. At several points across the width, the paper should drag slightly when you pull it out. If it slides freely, the strip isn’t making contact.
- Feel for drafts and check for dampness. Run your hand along the bottom on a windy day. Any draft, and a damp floor after a wet spell, both point to a failing seal.
- Inspect the strip itself. Look for flattening, cracking, tearing, or a strip that has pulled away from the door’s bottom edge. A strip that has flattened no longer seals.
- Re-seal or replace as needed. A strip that has warped can often be re-seated; one that is brittle, torn, or flattened needs replacement. Replace it, then re-run the paper test to confirm the seal.
Because the ground in Mission Bend moves through a dry summer, we suggest re-testing the strip after any long dry stretch and again once the rains return. It’s the cheapest way to keep humid air and water out of the garage and stop a small gap from becoming a bigger alignment problem. If you notice the door itself is dragging or hitting unevenly after a seal replacement, that’s a sign the whole door’s balance needs a look.
The Plumb-and-Level Door Frame Check
Age, weather, and shifting soil can push a door frame slightly out of true, and a door that used to run cleanly starts to bind or rub. A simple plumb-and-level check with a basic spirit level tells you whether the door is still square, and it’s a check any confident homeowner can do. Here’s how it goes after a wet season or a long dry stretch in Mission Bend.
- Check the tracks are plumb. Hold the level against the vertical track on each side. The bubble should read centered along the full height. If the track leans in or out at the top, the door will bind at some point in its travel.
- Check the header is level. Lay the level across the horizontal bar above the door. A header that’s noticeably out of level points to a structural shift.
- Check the gap at each side. With the door closed, the gap between the door edge and each track should be roughly consistent top to bottom. A gap that widens toward one end means the door is out of alignment.
- Watch the door travel. Run the door up and down slowly and watch for any point where it rubs, jerks, or pulls to one side. Symmetrical smooth travel is what you want.
- Note any change, and don’t force it. If you see a lean or binding, don’t try to straighten the track with hand tools. Note it and call a professional to adjust.
A door that’s out of plumb puts uneven stress on springs, rollers, and the opener, so this check doubles as an early warning system for mechanical wear. If the door does need realignment, that’s something to have handled properly; a misjudged adjustment can make a binding door worse.
Opener and Safety-Reverse Testing
The opener is a motor with safety logic built in, and that logic deserves a test every few months, especially in a climate that stresses electronics. Motor units from LiftMaster, Chamberlain, and Craftsman all run a safety-reverse system, and a quick test confirms it’s working.
- Test the safety reverse with an object. Place a block of wood or a rolled-up towel in the door’s path on the floor and close the door. It should reverse on contact.
- Test the photo-eye sensors. Wave an object between the sensors at the base of the tracks while the door is closing. The door should reverse. Wipe any condensation or grime off the lenses, since humidity can fog them.
- Listen for strain. If the opener labors, the door may be out of balance rather than the opener failing. A door that’s hard to lift by hand puts extra load on the motor.
- Check the manual release. With the door closed, pull the release and confirm the door moves freely by hand. Then re-engage and test a full cycle.
If the opener runs but the door doesn’t move, or it reverses on its own without an obstruction, the issue may be the opener’s logic board, the sensors, or a mechanical bind. A Raynor or LiftMaster system can fail in different ways, which is why a brand-aware diagnosis saves guesswork. If you need a hand, garage door opener repair covers the electronics and the linkage together.
Safety: What You Should Never Adjust Yourself
Most of this checklist is safe for a homeowner: lubricating, cleaning, testing seals, and checking the level. A few parts are not. The torsion spring is under extreme tension, and adjusting or removing it without the right tools and training can cause serious injury. The same goes for the cables that run beside it, and for the bottom brackets the cables attach to. Never try to loosen, adjust, or remove a spring or cable yourself, and never cut a spring to release tension. If a spring is broken, don’t keep running the door with the opener in the hope it’ll manage; get it looked at.
Leave torsion spring and cable work to a trained professional. If the door is heavy, if a spring is visibly cracked or rusted through, or if you hear a sharp snap, stop using the door and call. In our experience, most serious garage door injuries happen when a homeowner tries to “just take a look” at the springs. It’s the one job on this list we’d never ask you to attempt.
Common Mistakes to Avoid
- Relying on silicone spray for springs. It’s the standard online advice, but in Mission Bend humidity it washes off and leaves bare metal exposed. Use a lithium or white grease instead.
- Greasing the tracks. Heavy grease traps grit in a humid climate and wears rollers faster. Keep tracks clean and dry-lubricated.
- Skipping inspections after a humid stretch. The calendar alone won’t catch a rust bloom. Check the door after weeks of heavy air, not just on schedule.
- Ignoring a flattening bottom seal. A gap lets in humid air and pests and worsens alignment over time. Test and replace it after dry spells.
- Forcing a door that’s out of plumb. Tightening a track by hand often makes binding worse and stresses the springs. Have it adjusted properly.
- Operating a door with a rusted or cracked spring. This is the one short-cut that can cause real injury. Stop and call.
- Assuming an opener that reverses on its own is “just quirky.” That’s often a sensor or logic fault, and it’s worth a diagnosis.
See the difference
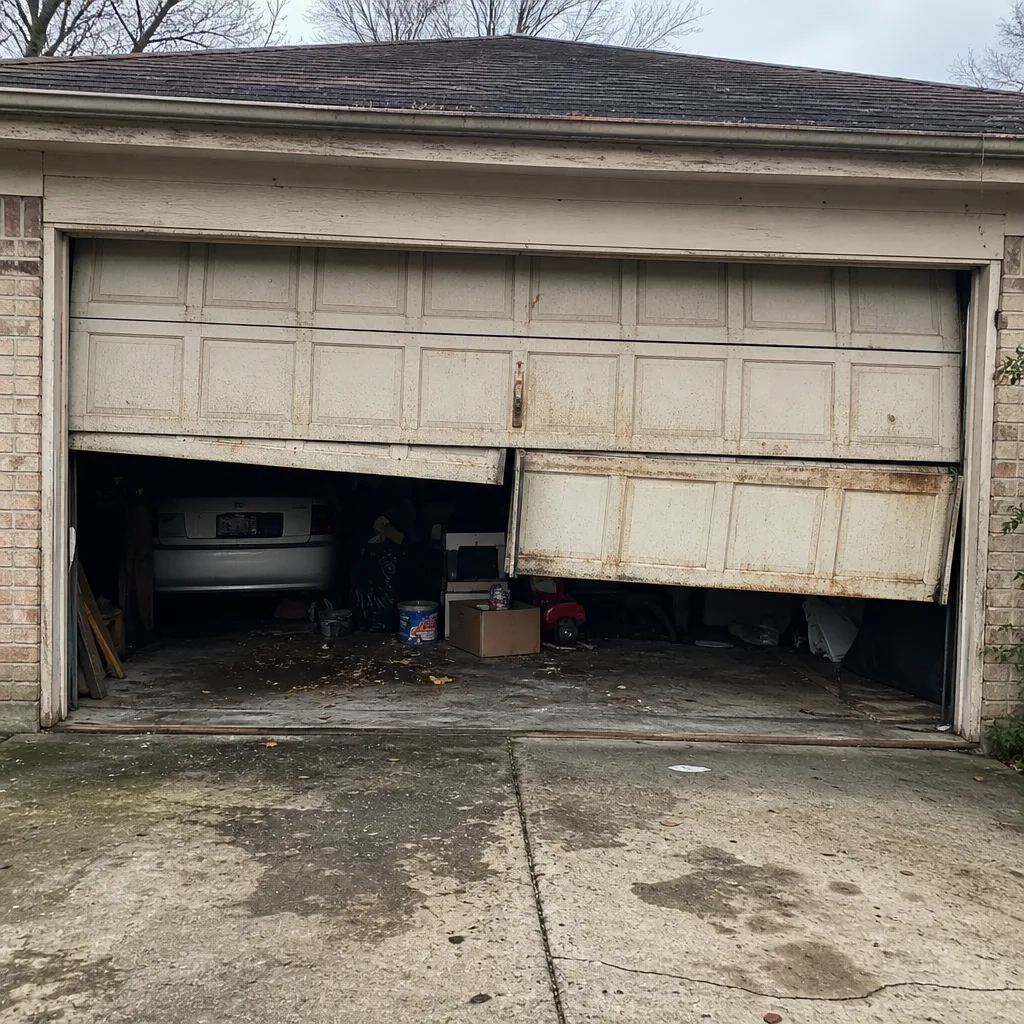 Before
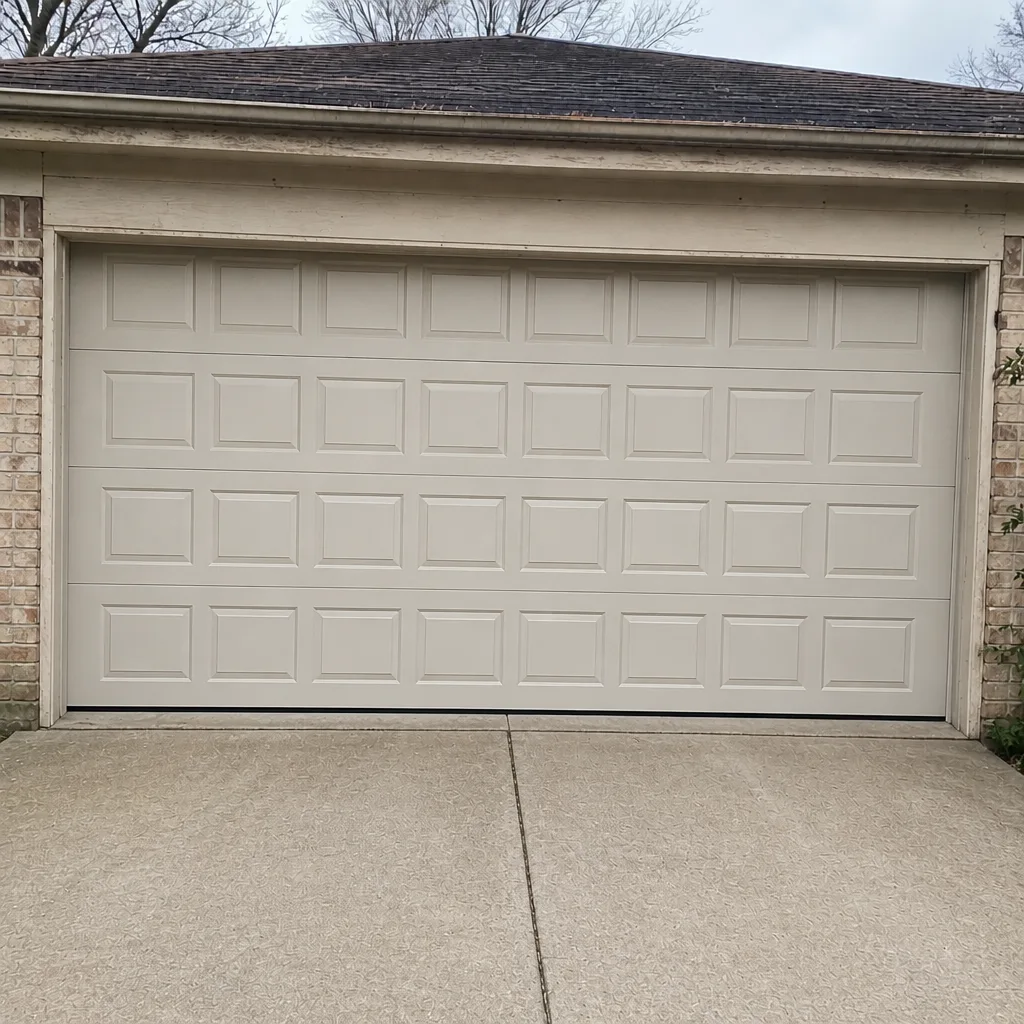 After
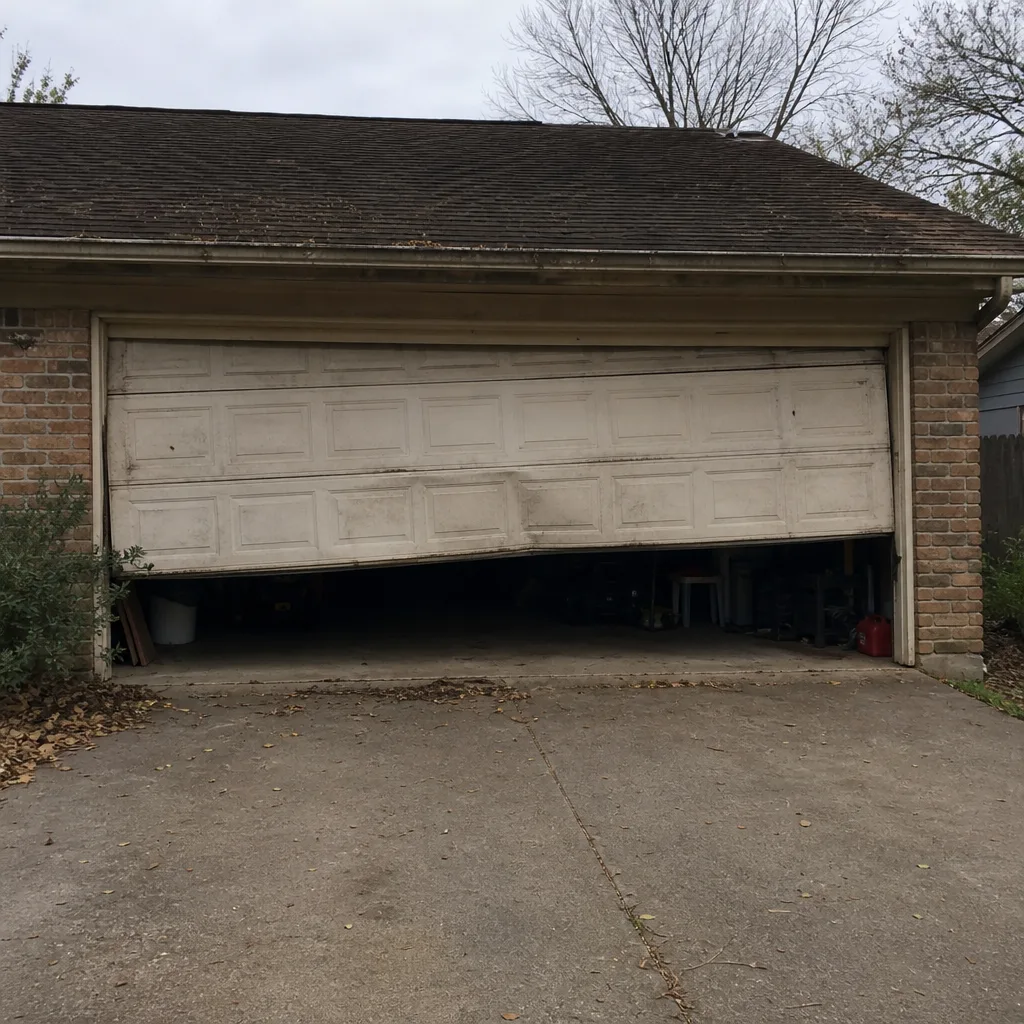 Before
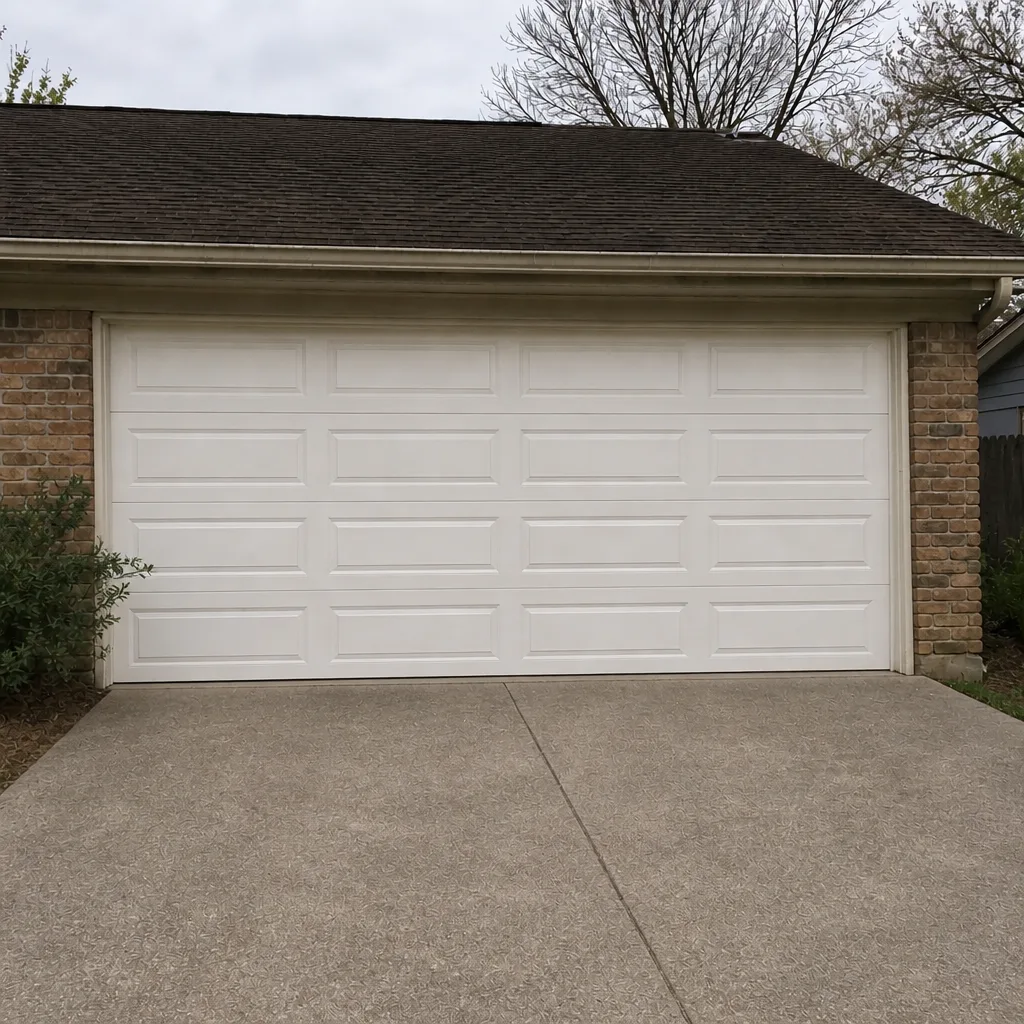 After
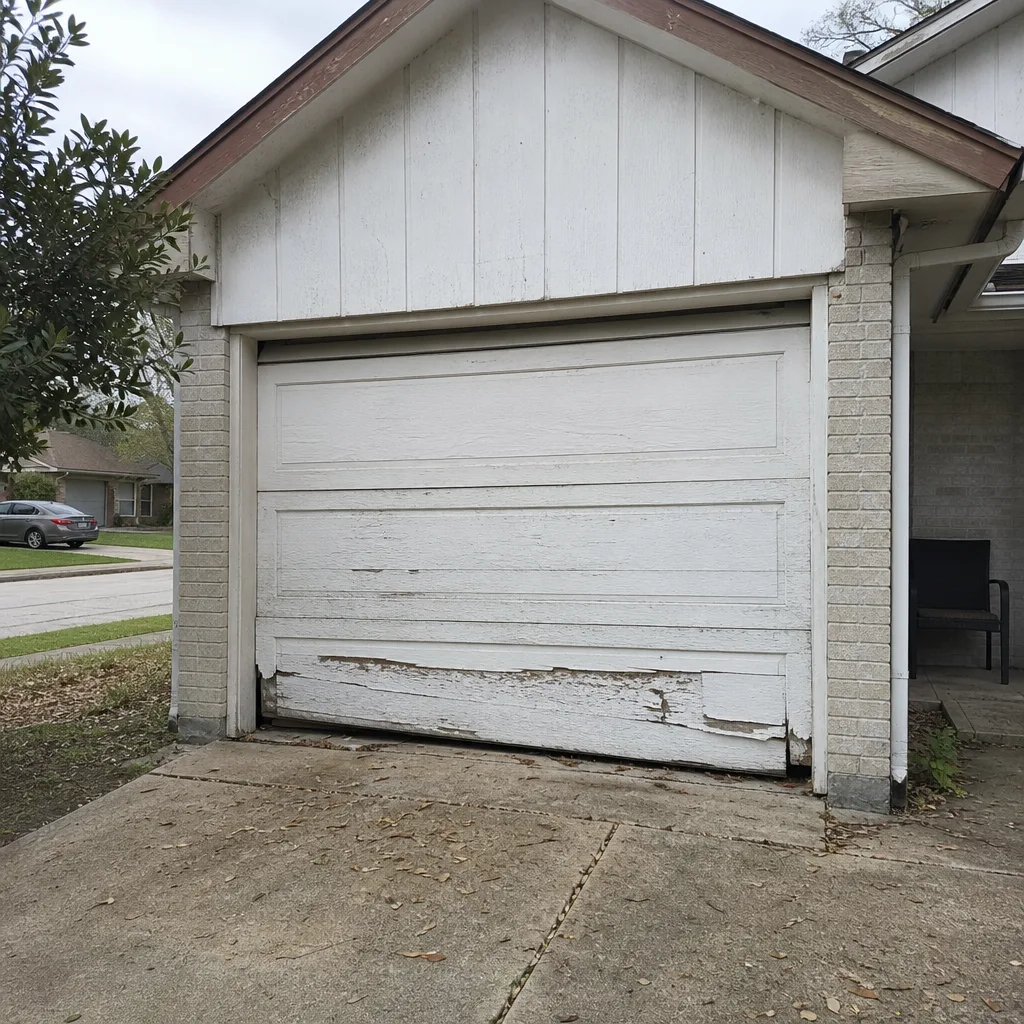 Before
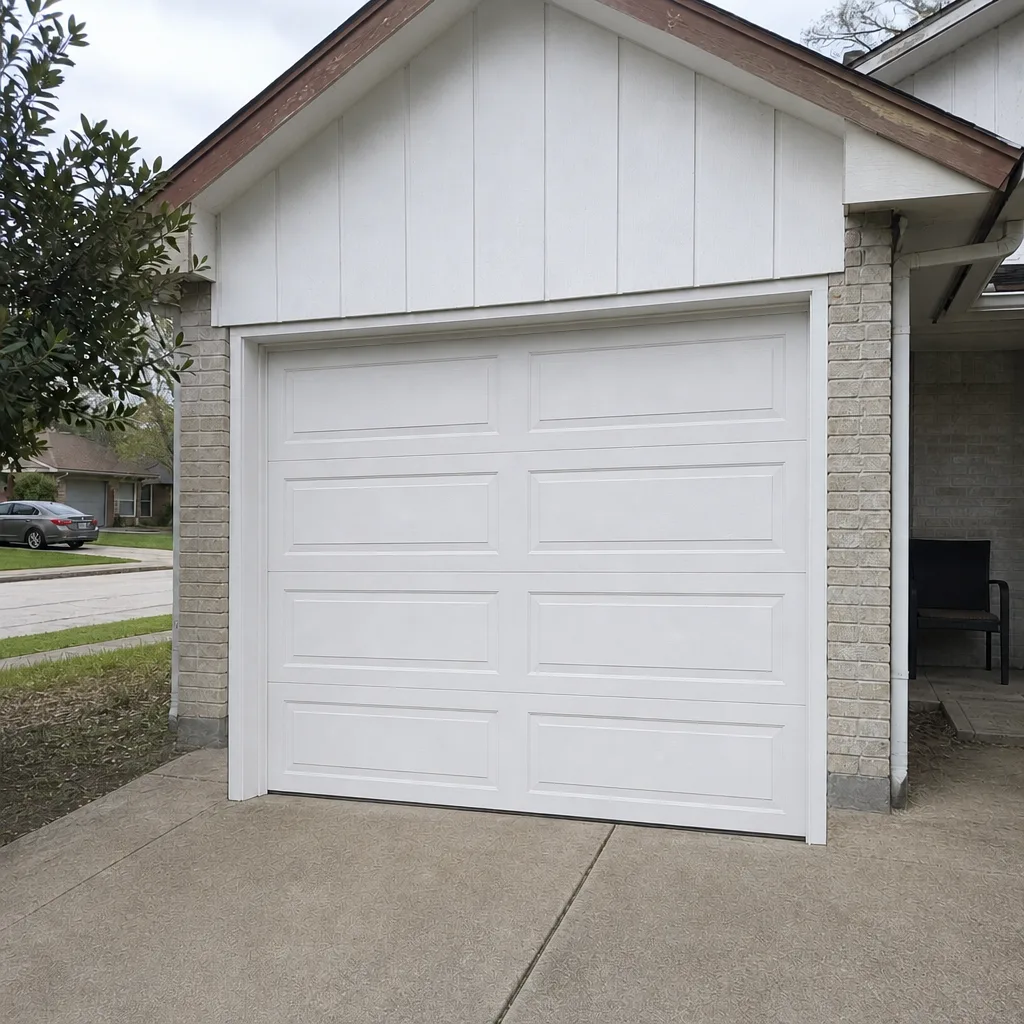 After
When to Call a Professional
Call a professional when a spring shows pitting, cracking, or rust at its ends, when the door feels heavy or won’t stay lifted by hand, or when a cable is frayed or rusted between its strands. Call if the door is out of plumb enough to bind or rub, if the opener reverses without cause, or if a bottom seal replacement reveals a door that’s dragging or hitting unevenly. And call if the door won’t move at all. Mission Bend Garage Door Repair Pros offers free estimates in Mission Bend, and we work on the brand already on your door, from LiftMaster and Chamberlain to Raynor and Craftsman. Call (855) 658-5076. We answer 24/7. Fast dispatch from 7am to 7pm, Sunday through Friday.
Frequently Asked Questions
Plan on lubricating springs, hinges, and bearings every three to four months, and again after any stretch of high humidity. Springs benefit most from a proper grease that won’t wash off.
Silicone spray is a poor choice for springs in high humidity because it wears off and leaves metal exposed. Use a lithium or white grease on springs and cables instead. Call (855) 658-5076 for an exact quote on any spring issue; estimates are free.
A light surface film is manageable if you clean and re-grease it, but pitting, end-cone corrosion, or a visible crack means the spring is failing and shouldn’t be operated. Call (855) 658-5076 for an exact quote; estimates are free.
Checking level with a spirit level is safe for a homeowner, but adjusting the track or torsion system should be left to a trained professional. Even a track adjustment can affect door balance and spring load.
A hot, dry spell shifts the ground and frame a fraction, which can open a gap the strip no longer fills. Re-test with the paper method and replace the strip if it’s flattened or cracked. Call (855) 658-5076 for an exact quote; estimates are free.
We work on the brand already on your door, including LiftMaster, Chamberlain, Raynor, and Craftsman among eight widely installed brands. The brand matters, and a specialist can diagnose it without guesswork.
The Bottom Line
Maintaining a garage door in Mission Bend comes down to three habits: lubricating the right parts with the right product, inspecting on a humidity-driven schedule rather than a calendar alone, and watching rust before it becomes failure. Grease your springs with lithium or white grease, not thin silicone; test and reseal the bottom weatherstrip after dry spells; do a plumb check after a wet season; and test the opener’s safety reverse every few months. Leave springs and cables to a professional. Follow that routine and a door handles this climate far better than a generic checklist would ever give it credit for.
If anything on this list turns up a problem you’d rather not tackle yourself, or if you’d simply like a trained eye to walk the door with you, get in touch. Mission Bend Garage Door Repair Pros handles repair, opener repair, spring repair, installation, and emergency work, all garage doors only. Call (855) 658-5076 for a free estimate. We answer 24/7. Fast dispatch from 7am to 7pm, Sunday through Friday.
Written by the team at Mission Bend Garage Door Repair Pros.